


AcoustiCase™ C6607A & B - Fitting Guide with Images |
|
1. PreparationTake a few minutes to read any instructions that come with the pack.
Be careful to heed warnings about not placing materials directly over
ventilation holes, or any moving parts or other components that will require
airflow for cooling. |
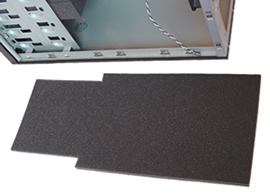
2. Fit the Case Roof Remove any Power Supply Unit (PSU), and turn the case upside down. Remove
the top 5¼-inch drive bay cover to allow easier access to the front
of the case roof (see below). |
 |
 |
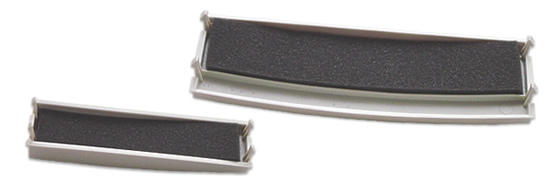
3. Fit Drive Bay Blanking PlatesFit the small backing pieces of acoustic composite behind the case front 3½ and 5¼-inch drive bay covers. The drive bay covers can be reached by prising off the front of the case. To do this, press the tabs either side of the front cover located towards the base; and lift the cover off (with a forward and up motion). |
|
 |
|
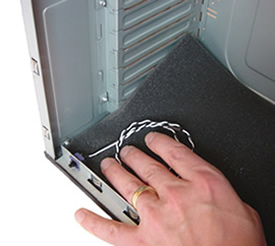
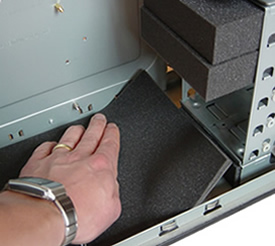
4. Fit Acoustic Foam Block on the Case FloorFit the almost square acoustic foam block under the Hard Disc Drive (HDD)
cage on the case floor. This is a pressure-fit, and just pushes into the
space. |
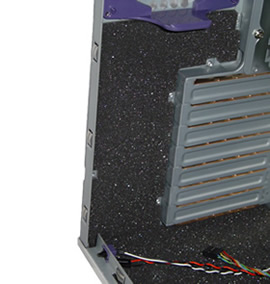
5. Fit Case Floor Acoustic CompositeFit the floor piece in the bottom left hand corner under the 'open door
switch' (take care - this is fairly delicate), then the back of the floor
under the expansion slots. |
 |
 |
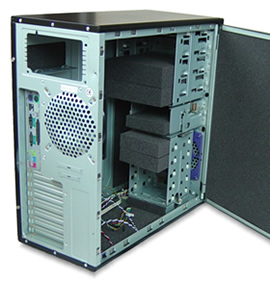
6. Add Acoustic Foam Blocks (Optional)Pressure-fit the acoustic foam blocks into any spare 5¼ and 3½-inch drive bays. Acoustic blocks are also provided to fit into any spare locations in the HDD cage.
|
7. Add Acoustic Composite adjacent to Expansion Card SlotsAttach the shaped acoustic composite material piece into the space adjacent to the expansion slots. Make certain the material does not cover the door locking screw hole. The acoustic material can be placed against the floor acoustic covering. |
 |
 |
8. Fit Side Panel Behind the Motherboard Unscrew and remove the side panel behind the motherboard. |
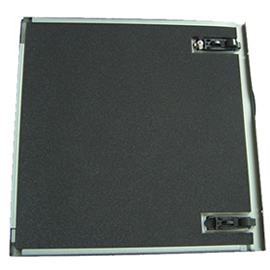
9. Fit Main Door PanelFit the sheet to the hinge edge first, leaving a similar
18mm gap at the rear of the door, and press lightly. |
 |
 |
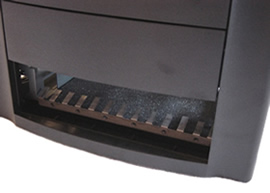
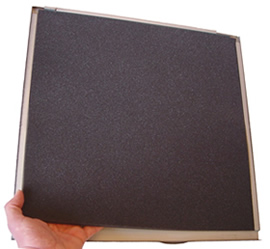
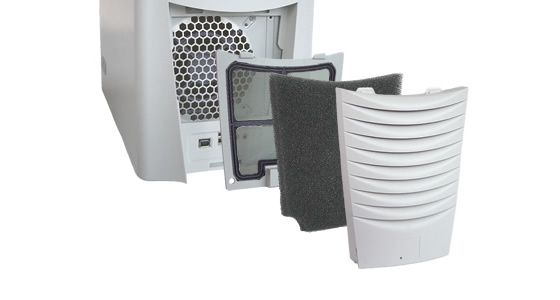
10. Add the Air Filter (Optional)The air filter can be installed by removing the lower front grill section
of the case. This is achieved by lifting the case up slightly
and locating and pressing the tab under the front of the case
grill. Once detached, install the washable air filter in the
void behind the front grill, and replace the unit. |
|
 |
|
14.
|
|
![]() Home | About | Solutions | News | Sitemap | Terms | Privacy | Contact
Home | About | Solutions | News | Sitemap | Terms | Privacy | Contact
Acousti Products is a division of The Rack People™, a company registered in England & Wales
No. 04514007. Registered Office: Lifford Hall, Lifford Lane, Kings
Norton, Birmingham, B30 3JN UK (previously named Acousti Products Ltd
- change of name May 2013).
All Rights Reserved. Graphics and
content ©2013 The Rack People™