


|
AcoustiPack™ Standard Fitting Guide with Images |
|
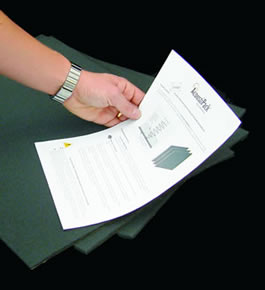
1. Read the Product Fitting RecommendationsTake a few minutes to read the instructions that come with the pack. Be careful to heed warnings about not placing materials directly over ventilation holes, or any moving parts or other components that will require airflow for cooling. |
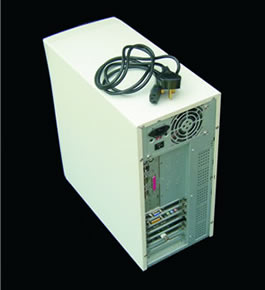
2. Turn the Power Off
|
 |
 |
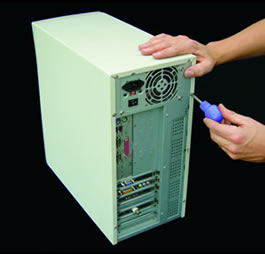
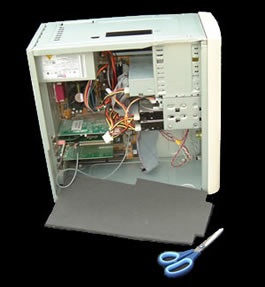
3. Open the CaseDepending on your case design, you will need to remove or slide off the outer case sides by various means. Most case designs will require you to unscrew and remove the case mounting screws. |
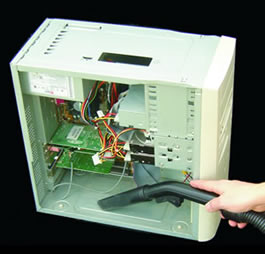
4. Clean (if Necessary)Any dust and debris will need removing prior to adhering the materials to interior surfaces. Take extra care not to damage components if you are planning to use a vacuum cleaner (or similar). Wipe the interior case sides with a very lightly damp cloth and allow the surfaces to dry. |
 |
 |
5. PlanPlan the installation of the materials in the pack by having a thorough look at the case design. Don't be tempted to miss out this stage - you will get better results if you carefully judge where it is best to install the materials. Pay careful attention to how the case sides and top of the case are fitted. |
|
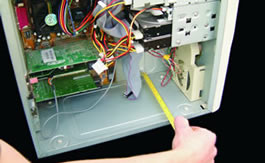
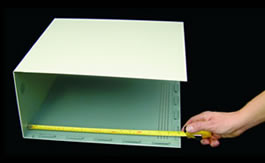
6. Measure UpMeasure the largest surface areas that you will want to cover. This will normally be the sides, top and base of the case. Calculate the optimal use of the materials to cover these largest surfaces first. |
|
 |
 |
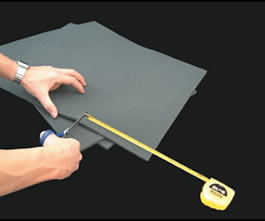
7. Cut The Largest Templates FirstCut the materials to the measurements you have made - starting with the largest pieces first.
|
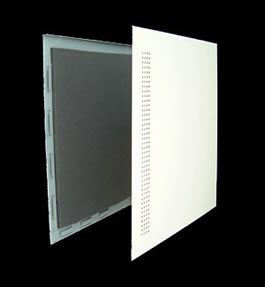
8. Remove the Backing PaperPeel off the self-adhesive backing paper. You may find it helpful to peel it partially at first, so you can easily position materials, and then remove the remaining backing paper as you progress. |
 |
 |
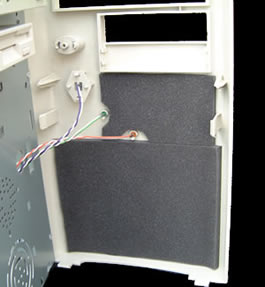
9. AdhereLightly adhere to surfaces at first, making sure that the material is correctly positioned. If you make a mistake - it can be re-applied for a second attempt - but be aware that excessive re-application will cause a deterioration in the adhesive. Once well positioned, press the materials firmly into place (especially around edges and rivets etc.) - this 'sets' the adhesive. |
10. Cut out Any Awkward ShapesCut out shapes so that the material fits snugly and flat against the case interior. The flexibility of the material should allow you to cut out shapes easily that are tricky or difficult. |
 |
 |
11. Use Up Any Leftover MaterialYou may like to use up any spare materials in odd suitable places, such
as behind the plastic front of the case. |
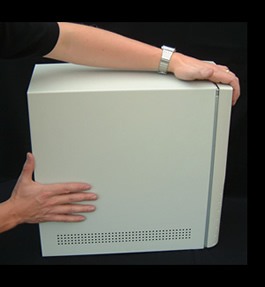
12. Reassemble the CaseRefit the sides and top of the case, and secure. Reattach the various cables and the mains power supply.
|
 |
 |
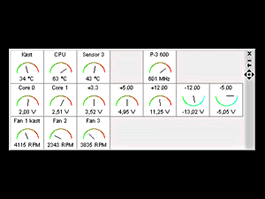
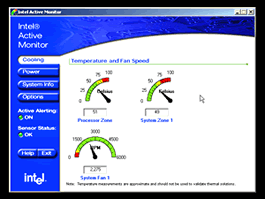
13. Monitor CPU and System TemperaturesWe recommend you monitor your CPU and system temperatures. Most modern motherboards have temperature sensors which allow you to monitor the processor and system temperatures using software. If you do not have any temperature-monitoring software then this information can normally also be viewed using the system BIOS (see your system board manual).
|
|
 |
 |
14. Enjoy!Your computing experience should be dramatically improved! Using these materials doesn't guarantee to remove all noise, but in our experience the noise levels are reduced to an acceptable level, and any remaining noise is at lower frequencies - which are are kinder to the ear. Enjoy the peace and quiet! |
|
![]() Home | About | Solutions | News | Sitemap | Terms | Privacy | Contact
Home | About | Solutions | News | Sitemap | Terms | Privacy | Contact
Acousti Products is a division of The Rack People™, a company registered in England & Wales
No. 04514007. Registered Office: Lifford Hall, Lifford Lane, Kings
Norton, Birmingham, B30 3JN UK (previously named Acousti Products Ltd
- change of name May 2013).
All Rights Reserved. Graphics and
content ©2013 The Rack People™